Print and Page Setup
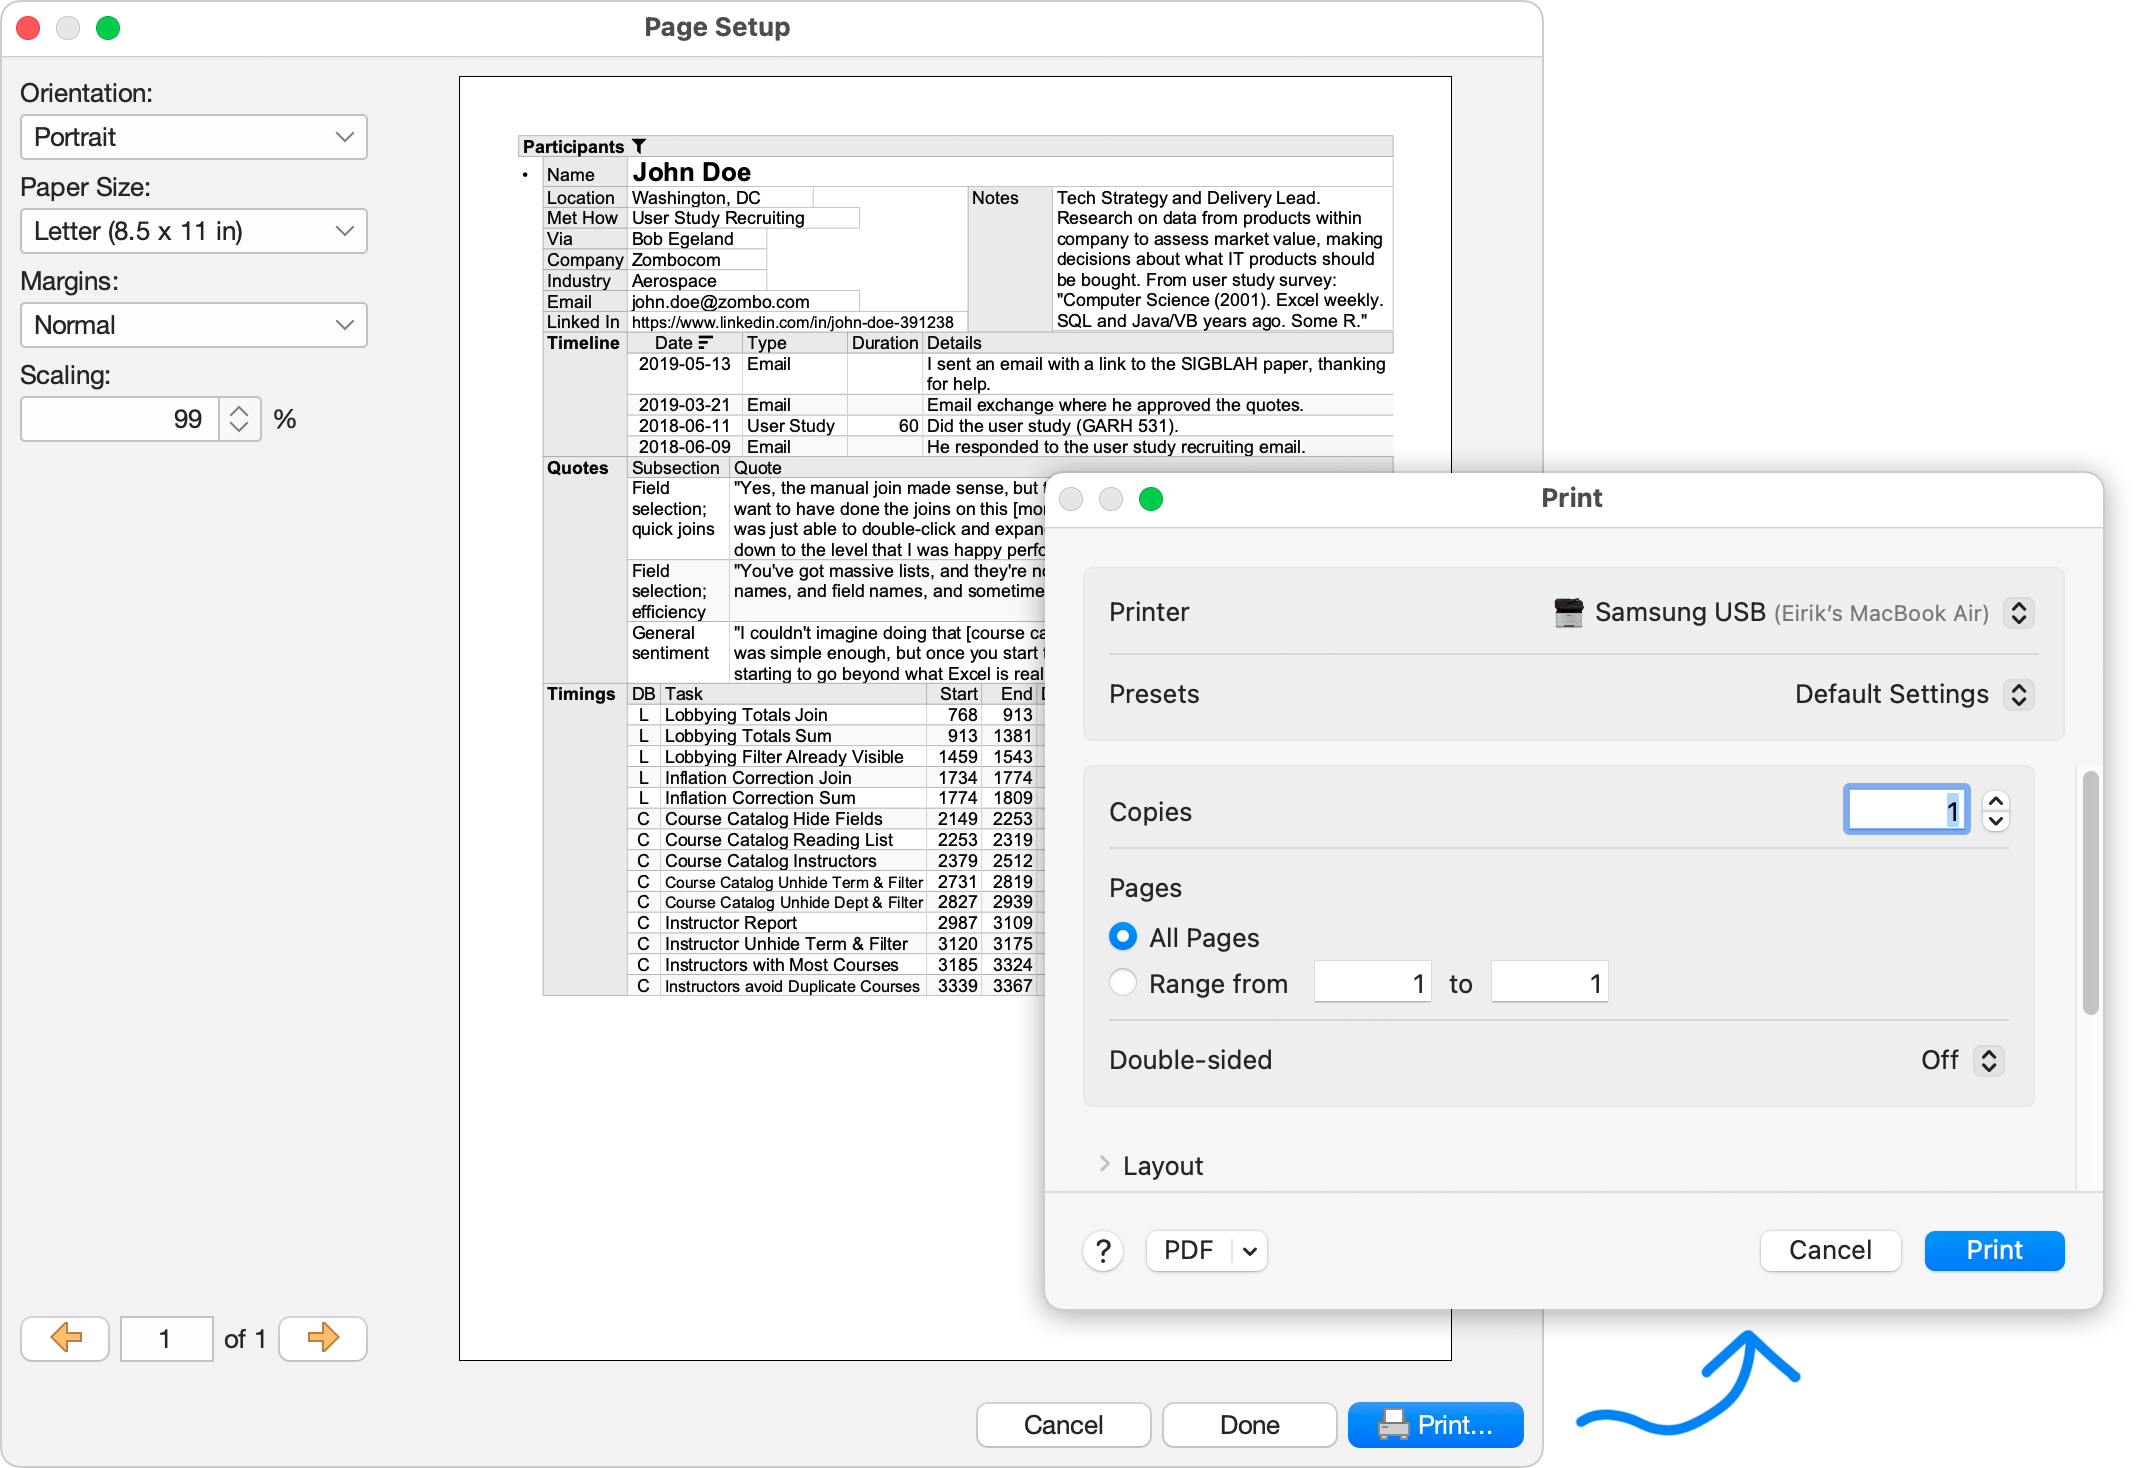
To print the current perspective, click Print (![]() ) from the toolbar or the File menu. A print preview will appear. Press the Print button to proceed.
) from the toolbar or the File menu. A print preview will appear. Press the Print button to proceed.
Printed result layouts repeat table headers and grouping values on each page.

Available Options
The font size (Scaling) and page orientation (portrait/landscape) is configured automatically to fit the width of the perspective. You can adjust these settings if desired. Changes to the page setup are saved when you press either Print or Done.
Print layouts include only the data that is actually loaded in the current perspective. To load more data, exit the Page Setup and scroll to the end of the perspective. Then press Print again.
Additional options, such as printer selection and double-sided printing, can be set from your operating system's print dialog, which appears as a final step.
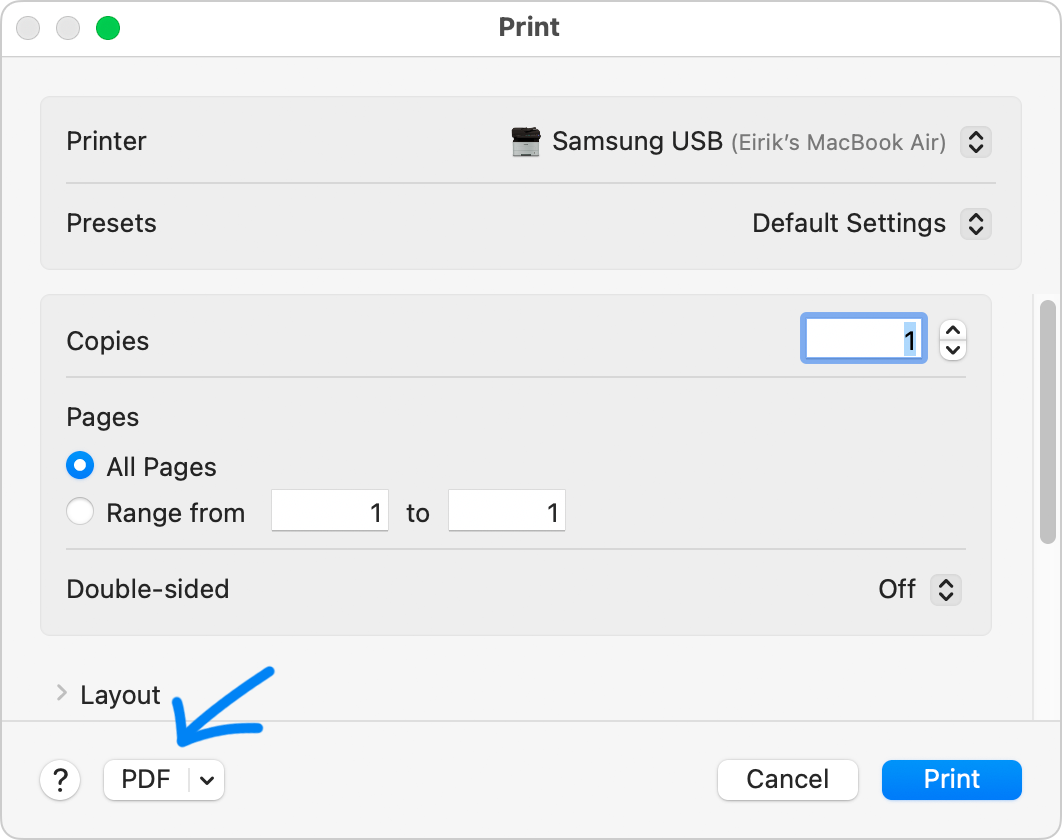
Print to PDF
To create a PDF file from the current perspective, print it to a PDF printer.
On Windows
On Windows, use the printer named “Microsoft Print to PDF”, which is installed by default.
On MacOS
On MacOS, press the PDF button in final Print dialog.
On Linux
On Linux, you may need to install a PDF printer manually, and then restart Ultorg. For example, the following command works on Ubuntu:
sudo apt-get install printer-driver-cups-pdf
On Ubuntu, printer-driver-cups-pdf will put generated PDF files in the folder ~/PDF/ by default, where ~ is your home directory.